 Save
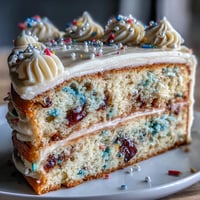
Save Some desserts demand a little flourish, and this Rosé Velvet Cake with its gold-slicked drips is precisely that. The first time I baked it, the kitchen filled with the gentle aroma of vanilla and a whisper of rosé—not something you expect from a cake, and yet it felt like a playful secret bubbling between the mixing bowls. Chilled glasses of leftover wine clinked nearby while my friends peeked over the counter, each swipe of pink buttercream making us snicker at our not-so-steady piping skills. The laughter was nearly as sweet as the anticipation, and by the end, our hands were coated with soft flecks of luster dust. That night, there was more giggling than elegance, but as we admired the finished cake, all was forgiven.
I remember making this for my cousin's bridal shower—there was a quiet excitement in the air, and as I layered the cakes while a playlist of 90s love songs played, a rogue petal fluttered onto the frosting and made us all burst out laughing. There's something about seeing people's faces light up at the reveal that makes every minute of stirring and decorating worth it.
Ingredients
- All-purpose flour: Gives the cake its structure; I always sift it for the softest crumb.
- Granulated sugar: Sweetens and helps the cake stay moist—but I learned to spoon it lightly for even mixing.
- Baking soda: Makes each layer rise just enough, so you get a tender bite without heaviness.
- Fine salt: Balances all the sweet notes; a pinch goes a long way.
- Cocoa powder (unsweetened): Adds depth to the pink color; always sift to avoid clumps.
- Vegetable oil: My favorite for keeping the crumb moist, even when chilling the cake overnight.
- Large eggs (room temperature): Blend best into the batter for a smoother cake texture.
- Buttermilk (room temperature): Adds tang and tenderness; pulling it from the fridge early is key.
- Rosé wine: Choose one you love to drink—it perfumes the cake beautifully.
- Vanilla extract: Rounds out the flavors; I splash in a little extra for warmth.
- White vinegar: Reacts with the baking soda for the velvet texture.
- Pink or rose gel food coloring: Adds that signature blush; I always start with a little, then add more for a deeper hue.
- Unsalted butter (room temperature): For the creamiest buttercream, let it soften naturally.
- Powdered sugar (sifted): Helps ensure a lump-free, dreamy smooth frosting.
- Edible gold luster dust: Only the edible kind makes this safe & sparkly—never skip reading your labels.
- Vodka or clear lemon extract: Helps paint the luster dust onto the drip without melting it.
- Heavy cream: Gives the drip a thicker, glossy finish that holds the shine beautifully.
- White chocolate chips: These melt down best for the drip; I use a good-quality brand.
- Optional garnishes (rose petals, berries): For finishing touches that make guests gasp.
Tired of Takeout? 🥡
Get 10 meals you can make faster than delivery arrives. Seriously.
One email. No spam. Unsubscribe anytime.
Instructions
- Prep the pans and oven:
- Set your oven to 350°F (175°C), grease three 8-inch pans, and line them with parchment — I once forgot the parchment and deeply regretted the cleanup.
- Mix the dry ingredients:
- Sift flour, sugar, baking soda, salt, and cocoa powder into a big bowl—the kitchen always gets a faint chocolatey cloud during this step.
- Whisk the wet ingredients:
- In another bowl, combine the oil, eggs, buttermilk, rosé, vanilla, and vinegar; whisk until velvety smooth and a little foamy.
- Combine and tint:
- Pour the wet into the dry mixture and stir just until it's mostly combined, then gently fold in the food coloring to reach that perfect blush.
- Bake the layers:
- Divide batter evenly into the pans, bake 30-35 minutes, and let the sweet, floral scent fill the house; check with a skewer for doneness.
- Cool the cakes:
- Cool in the pans for 10 minutes, then turn onto racks to cool completely — I usually make coffee at this point and sneak a taste of the cake scraps.
- Make the buttercream:
- Beat softened butter until pillowy, blend in powdered sugar gradually, then add rosé, vanilla, and salt; keep beating until fluffy and light.
- Assemble and crumb coat:
- Level your cakes if needed, start stacking with buttercream between layers, and spread a thin crumb coat before chilling — this saves sanity and gives a neat finish.
- Finish frosting:
- Apply the final swirl of buttercream once chilled, smoothing or swooshing as the mood strikes.
- Gold drip magic:
- Melt white chocolate and cream, then cool for 10 minutes—mix edible gold dust with vodka/lemon extract and get your brush ready.
- Drip and decorate:
- Pour the cooled white chocolate over the cake's edge and let it cascade—paint on the gold once set, and finish with rose petals or berries for drama.
 Save
Save 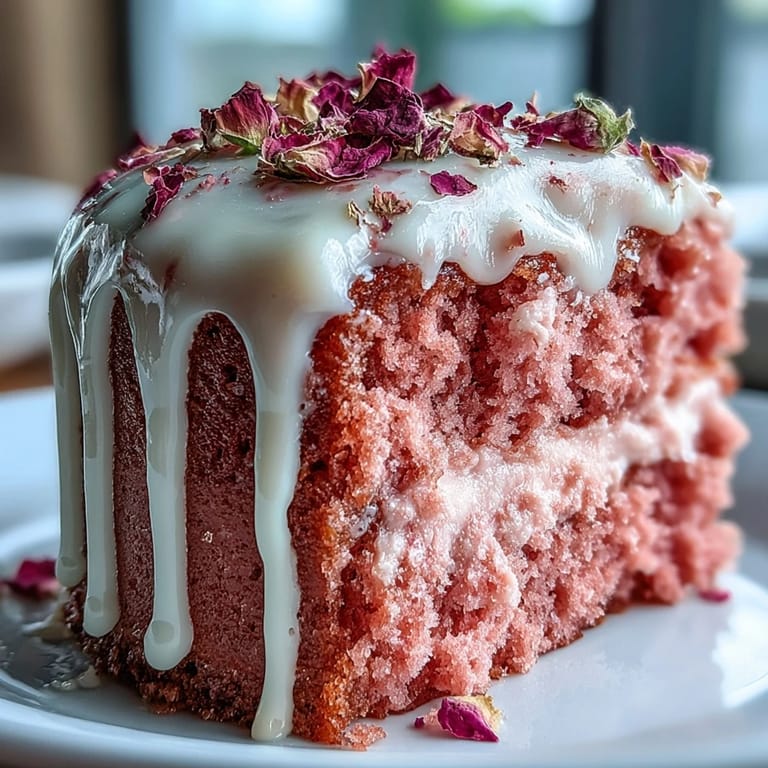 Save
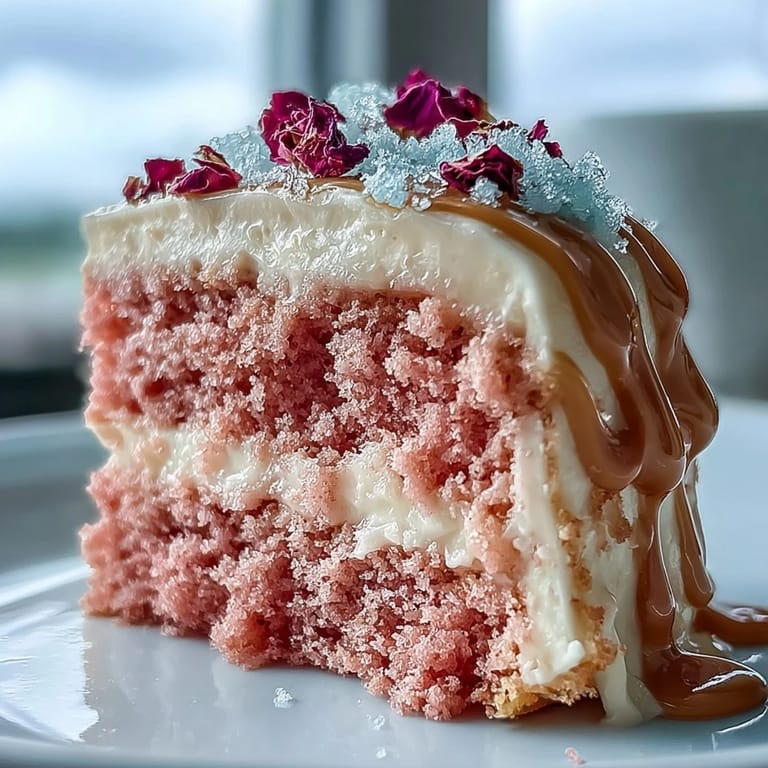
Save During the shower as everyone clustered in the sunlit kitchen, someone quietly asked for a second slice and I realized this cake had accidentally upstaged the champagne toast. It's lovely how something so gleaming can bring everyone together around a table, forks poised and eyes wide.
Secrets to That Velvet Texture
Buttermilk and vinegar are the duo behind the cake's signature crumb—they interact with the cocoa and baking soda for a tender yet slightly tangy bite. I never rush mixing for this part; gentle folding means every slice stays plush and even-colored.
Getting the Gold Drip Just Right
The white chocolate needs to cool just enough to thicken before dripping, otherwise it runs right off (ask me how I know). Using a squeeze bottle or spoon gives the most control, and waiting until the drip is set before painting the gold makes for sparkling results, not smeared streaks.
Making Ahead and Presentation Tricks
Cakes like this shine if you give them time in the fridge—chilling helps flavors meld and makes slicing cleaner, too. Bringing everything to room temperature before serving makes the buttercream dreamily soft again. Don't be shy with the finishing touches—sometimes the most extravagant edible flower or berry pile is what turns heads at the party.
- If making ahead, tightly wrap the cooled cake layers to keep them moist.
- Choose a sturdy cake board for hassle-free transfer and presentation.
- Let the gold drip fully set before moving or boxing the cake.
 Save
Save  Save
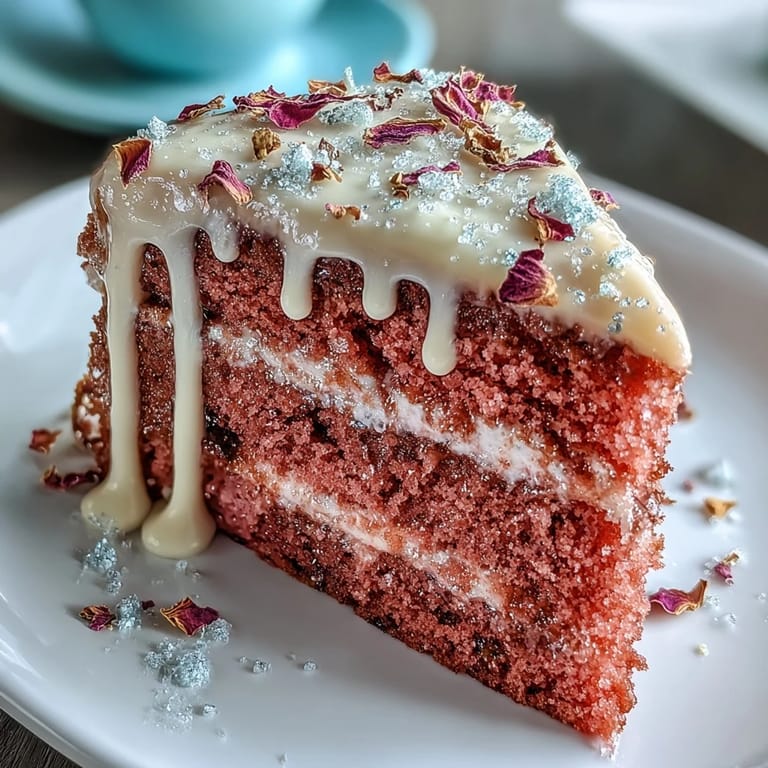
Save May your bridal shower be filled with laughter and golden memories from the very first slice. This cake promises both a feast for the eyes and a little sparkle for the soul.
Recipe Questions & Answers
- → Can I taste rosé in the finished cake?
Yes — using a dry or sparkling rosé adds a subtle floral and fruity note that complements the cocoa and vanilla, especially when used in both the batter and the buttercream.
- → How do I get a stable gold drip that won’t run?
Melt white chocolate with cream and cool slightly so it thickens but remains pourable. Test a small edge drip first; once poured, paint with edible luster dust mixed with a clear food-safe liquid to achieve the shimmer.
- → Best way to achieve an even pink crumb?
Use gel food coloring for concentrated color and add a little at a time to the batter until you reach the desired shade. Folding gently preserves air for a tender crumb.
- → Can I make components ahead of time?
Yes — bake the layers a day ahead and wrap tightly in plastic. Buttercream can be made and chilled; assemble and decorate the day of serving for the freshest texture. Bring to room temperature before slicing.
- → Any tips for a smooth buttercream finish?
Apply a thin crumb coat and chill for 20–30 minutes to set. Use an offset spatula and a bench scraper warmed briefly in hot water for a smooth final coat.
- → Is the alcohol in rosé a concern for baking?
Most alcohol evaporates during baking, leaving flavor behind. If avoiding alcohol entirely, substitute with chilled rosé-flavored syrup or grape juice plus a touch of vinegar to maintain acidity.