Save
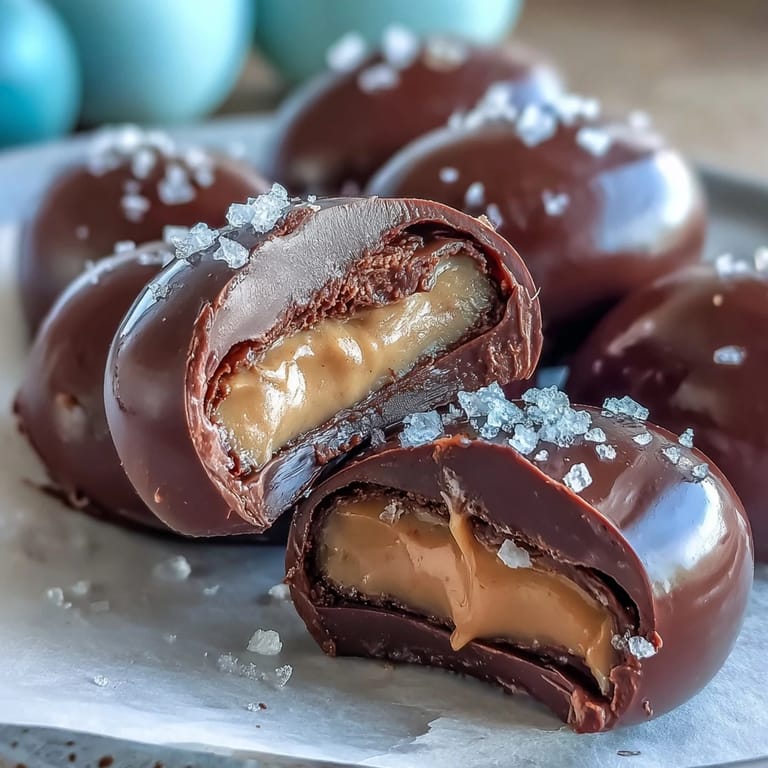
Save Whenever I make these dark chocolate peanut butter Easter eggs, there's a certain excitement that comes from the sweet, nutty aroma wafting through the kitchen. One spring afternoon, the sound of melting chocolate bubbling on the stove was oddly meditative — a small escape from the busy world outside. The buttery peanut filling felt almost luxurious between my fingers as I shaped each egg, making me realize how therapeutic simple baking tasks can be. These treats started as a whim, yet the process always makes my kitchen feel festive. They're now my secret weapon for turning ordinary weekends into celebratory moments.
Last year, I made a batch for my neighbors and left them on their porch as a little surprise. Seeing the messages of joy pop up in our group chat later that day made the kitchen mess more than worth it. It's amazing how a simple gesture, like homemade sweets, can turn regular acquaintances into friends. Now, every Easter, I get asked if the peanut butter eggs are "making an appearance." Moments like that remind me that sharing food is truly special.
Ingredients
- Creamy Peanut Butter: The smoother, the better—it creates a melt-in-your-mouth texture for the filling.
- Unsalted Butter: Softened butter helps blend everything seamlessly and adds richness without overwhelming salt.
- Powdered Sugar: This gives the filling just the right sweetness and keeps it light, not gritty.
- Pure Vanilla Extract: A little splash rounds out the flavors and brings warmth to the filling.
- Fine Sea Salt: Just a pinch balances the sweetness; don't skip it, or the peanut butter can taste flat.
- Dark Chocolate (60–70% cocoa): Chopped bars melt more smoothly than chips, and the cocoa percentage really matters for depth of flavor.
- Coconut Oil (optional): Melted with chocolate, it makes the coating extra glossy—learned this trick after a few attempts with streaky shells.
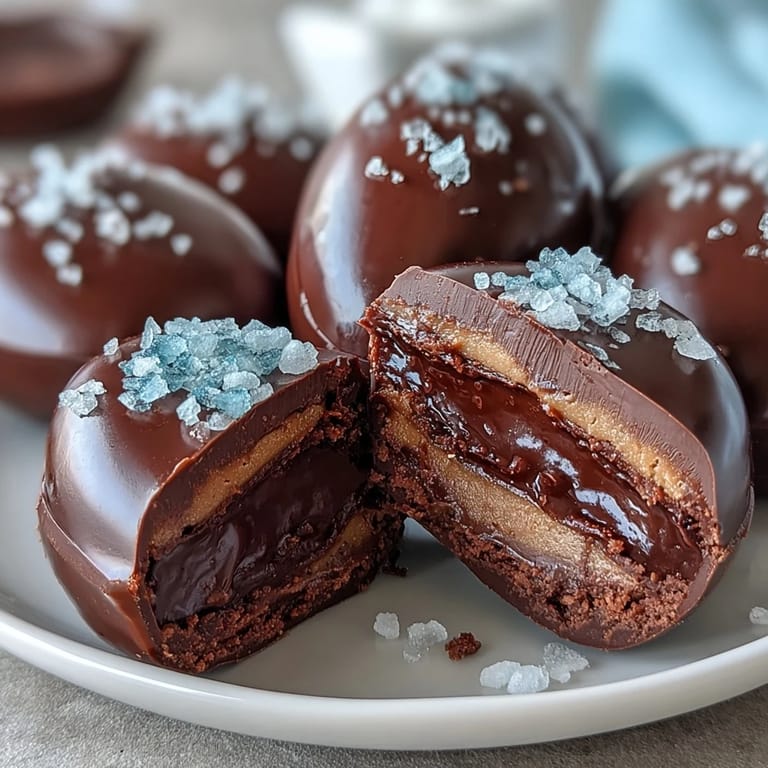
- Flaky Sea Salt: Sprinkle on top to add crunch and a pop of savoriness; it's the finishing touch that makes every bite memorable.
Tired of Takeout? 🥡
Get 10 meals you can make faster than delivery arrives. Seriously.
One email. No spam. Unsubscribe anytime.
Instructions
- Prep the Baking Sheet:
- Lay out parchment paper so you can easily lift the eggs later; it's a simple step that saves tons of cleanup.
- Mix Your Filling:
- Combine peanut butter, softened butter, powdered sugar, vanilla, and sea salt—I like to mix with a sturdy spoon until everything smells nutty and sweet.
- Shape the Eggs:
- Scoop two tablespoons of filling and use your hands to form each into an egg shape; don't worry if they're not perfect—getting a little messy is part of the fun.
- Freeze Until Firm:
- Pop the tray in the freezer for about 30 minutes; you'll notice the filling becomes solid and really easy to dip.
- Melt the Chocolate:
- Gently melt dark chocolate and coconut oil over a double boiler or in the microwave, stirring every 30 seconds—when it's smooth and shiny, it's ready.
- Dip and Coat:
- With a fork, dip each frozen egg and let excess chocolate drip off; place them back on the tray and move quickly or the chocolate might harden before you finish.
- Add the Sea Salt:
- Sprinkle flaky salt right away, before the chocolate sets—this makes each egg pop with texture and flavor.
- Chill and Serve:
- Refrigerate for at least 15 minutes until the chocolate is crisp; these are perfect cold but melt-in-your-mouth at room temp.
 Save
Save The first time I made these, my little cousin helped and insisted every egg had to be a different shape. We laughed as some looked more like potatoes than eggs, but somehow those funny shapes made the batch even more memorable. That day, the kitchen was filled with giggles, chocolate smudges, and a sense that Easter had arrived early. By the end, everyone agreed that homemade treats taste best when they're imperfect. That's when these Easter eggs became more than just a dessert—they became a tradition.
How to Make Your Chocolate Coating Extra Smooth
After making several batches, I found that adding a bit of coconut oil while melting the chocolate really helps. It keeps the chocolate shiny and stops it from cracking when you bite in. If you want a thicker shell, just skip the oil—either way, quality dark chocolate is key. Don't rush the melting process, as slow and steady ensures the chocolate flows smoothly for dipping. For an ultra-glossy finish, stir right until the chocolate cools to room temperature before coating.
Storing and Serving Tips
I've tried storing these in the fridge and freezer, and both work well—just make sure you use an airtight container. The eggs stay fresh for days and taste best chilled, but if you serve them at room temperature, the filling gets even creamier. Letting them sit out for about 10 minutes gives the peanut butter center a melt-away texture. If you're gifting them, wrap them up in small cellophane bags with an extra sprinkle of sea salt for added flair. No matter how you serve them, these eggs disappear fast!
Troubleshooting Homemade Easter Eggs
Sometimes the filling can be too sticky if the peanut butter is watery or the butter isn't soft enough. If the shapes collapse, pop them back in the freezer for a few more minutes before dipping. Chocolate streaks? Melt it slowly and stir often—even humidity can play tricks! Use a fork for dipping rather than a spoon for easier handling. If you're new to candy making, just keep calm—these eggs are forgiving and delicious no matter how they look.
- Don't skip the quick freezer chill before dipping.
- A small pinch of salt in the filling wakes up the flavors.
- Always check chocolate labels for allergens if sharing.
 Save
Save Whether you're sharing these chocolate eggs with family or friends, expect smiles and requests for "just one more." They're simple, quick, and always toast the start of spring.
Recipe Questions & Answers
- → Can I use crunchy peanut butter?
Absolutely—using crunchy peanut butter adds extra texture to the centers, making each egg more interesting.
- → Do I have to add coconut oil?
No, coconut oil simply makes the chocolate coating smoother; you can omit or use vegetable oil for a thicker shell.
- → How long do these eggs last?
Store in an airtight container in the fridge for up to 1 week or freeze for up to 2 months for longer freshness.
- → Are these gluten-free?
Yes, as long as all ingredients are certified gluten-free, these eggs suit gluten-free diets.
- → How should I melt the chocolate?
Melt chocolate in a double boiler or microwave in short bursts, stirring between each until smooth and glossy.
- → Can these be served at room temperature?
Yes, they taste great chilled or at room temperature. Keep refrigerated until ready to enjoy.