 Save
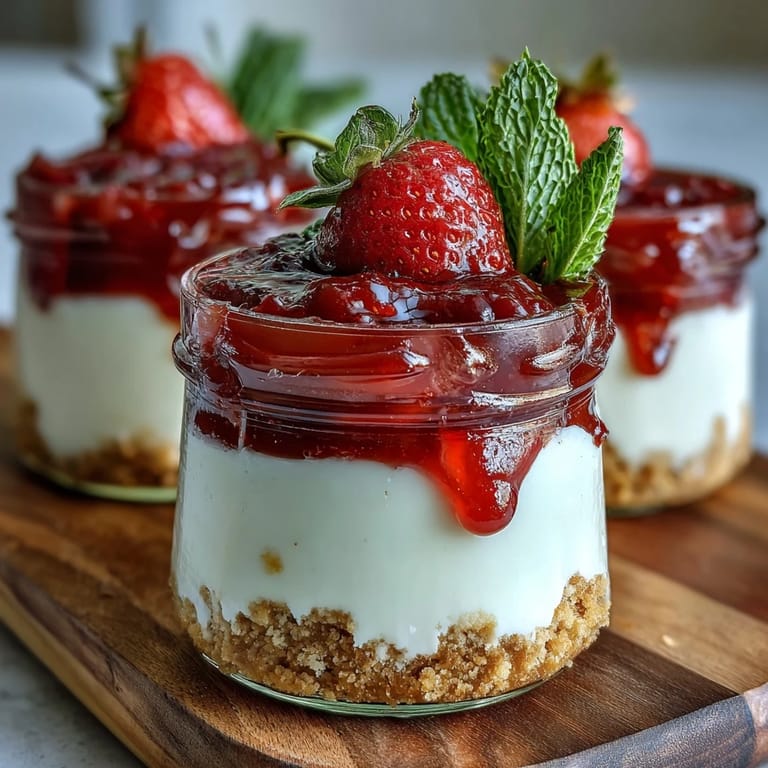
Save The scent of lemon zest mingling with sweet strawberries in my kitchen always brings a smile. I once stumbled across the idea for these No-Bake Strawberry Cheesecake Jars while prepping dessert in a rush for my book club, inspired entirely by the season’s first punnet of berries. Every layer, from the soft biscuit base to the creamy filling and tangy compote, feels like a nod to spring’s arrival. Scooping into a jar makes dessert more playful—there’s something about having your own that elevates an ordinary weekday. It’s a dessert that promises easy enjoyment without turning on the oven.
One sunny April afternoon, I made these jars for my neighbors to celebrate the end of winter. We all stood around my kitchen island, tasting, laughing, and debating which layer was the best. I remember one jar toppling over and everyone rushing to grab a spoon, turning mishap into a moment of joy. It really drove home how food can bring people together—with or without perfect presentation. That day, these cheesecakes became a neighborhood staple.
Ingredients
- Graham crackers or digestive biscuits: Crushing them to uneven crumbs gives the base a rustic crunch, and I’ve learned to press gently—too much pressure makes the crust tough.
- Unsalted butter: Melted butter binds the crumbs so the base stays together and has a subtle richness; if you use salted butter, skip extra salt elsewhere.
- Cream cheese: The star of the show—softening it first means no lumps and a smoother filling.
- Whipping cream: Whipping it cold gives the cheesecake layer a dreamy lightness; don’t overbeat or it can turn grainy.
- Powdered sugar: Dissolves seamlessly, ensuring a silky texture without grittiness.
- Vanilla extract: Just a teaspoon brightens the filling, adding depth that balances the tartness from the lemon.
- Lemon zest: Finely grated zest lifts everything with fragrance and a tiny burst of tang.
- Fresh strawberries: Chopped for the compote, they create color, flavor, and a seasonal touch—choose ripe berries for best results.
- Sugar for compote: Sweetens the strawberries and helps them break down into a luscious sauce.
- Lemon juice: Enhances strawberry flavor and keeps the compote lively and not too sweet.
- Whole strawberries & mint leaves: For garnish—a visual flourish and a fresh contrast, but optional if you prefer simplicity.
Tired of Takeout? 🥡
Get 10 meals you can make faster than delivery arrives. Seriously.
One email. No spam. Unsubscribe anytime.
Instructions
- Prepare the Biscuit Base:
- Tip your crushed biscuits into a mixing bowl, drizzle over melted butter, and stir until it clumps together like wet sand. Spoon the mixture into jars, pressing gently with the back of a spoon so each base is nestled but not compacted too firmly.
- Whip Up the Cheesecake Layer:
- In a fresh bowl, beat softened cream cheese with powdered sugar, vanilla extract, and lemon zest until totally smooth; you’ll notice the aroma change. Whip the cold cream on its own until soft peaks form, then gently fold it into the cream cheese mixture to preserve the airy texture—don’t rush, this step is where the magic happens.
- Layer and Chill:
- Spoon the cheesecake filling over your biscuit bases in the jars and smooth the tops. Slide the jars into the fridge for at least 2 hours so the dessert firms up and flavors mingle.
- Cook the Strawberry Compote:
- Put chopped strawberries, sugar, and lemon juice in a saucepan; cook over medium heat with occasional stirring. In 5–7 minutes, the strawberries soften and the sauce thickens—let it cool entirely before topping the cheesecake layers.
- Assemble and Garnish:
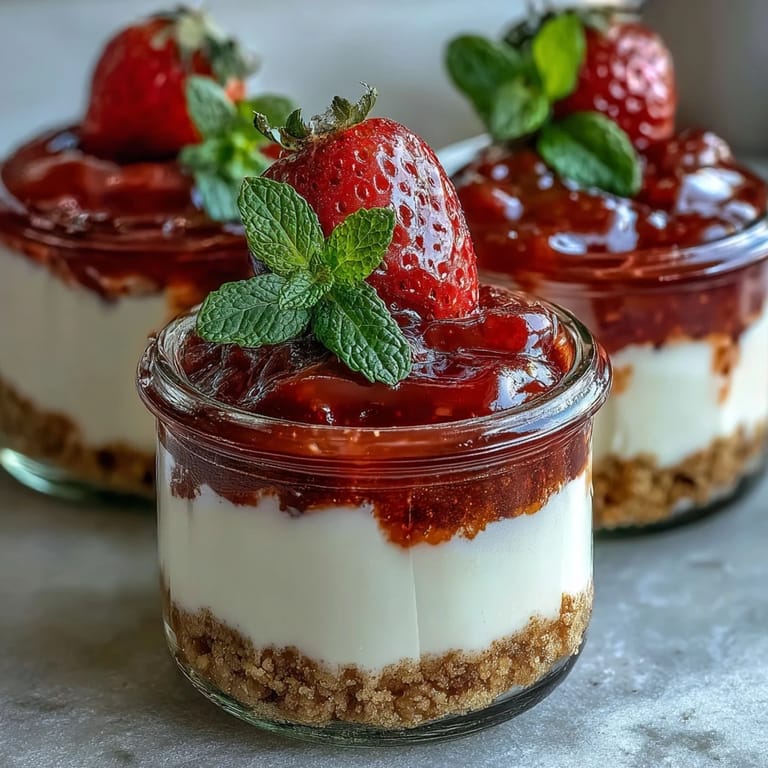
- Once chilled, spoon cooled compote onto the set cheesecake in each jar. Place a whole strawberry and mint leaf on top for an inviting finish, then serve immediately or keep chilled until ready.
 Save
Save The first time these jars became more than a recipe was at a spring picnic—everyone’s hands holding chilled jars, laughter echoing across the field. Sharing dessert in the open air gave each jar its own story, and I realized how little things like presentation could heighten the mood. It felt wonderful to see friends debating which layer was the most irresistible. The memory still makes me grin. From then on, I made them for nearly every gathering, always with a new berry variation to surprise the crowd.
How To Personalize Each Jar
What makes these jars fun is customizing the layers or the garnish for everyone at the table. Sometimes I tuck in extra fruit between the cheesecake and compote, or experiment with mini meringues for texture on top. You’ll find guests love having their favorite flavor nestled in their own jar. Swapping out strawberries for raspberries makes things vivid and tangy. Making each jar a little different turns dessert into conversation.
Make Ahead For Effortless Entertaining
Preparing these cheesecake jars the night before a party makes hosting so much easier. The flavors intensify overnight, and the presentation looks polished without extra fuss—plus, it’s one less thing to worry about on the day. Stack them in the fridge and just add garnish right before serving. Guests always rave about how the cool layers taste freshly made. It’s my go-to for last minute events or stress-free brunches.
Kitchen Moments: Mistakes Turned Magic
Oddly enough, my favorite version happened when I ran out of biscuits and used shortbread instead—the rich buttery crunch worked beautifully. Sometimes the compote is a little runny, so I drain off excess juice to keep the layers tidy. There were days when the jars looked imperfect but tasted incredible, reminding me that casual desserts are often the most memorable.
- If the cheesecake layer seems soft, chill longer for firmer results.
- Crumbs too dry? Add a splash more butter before pressing into jars.
- Don’t stress about perfect layering—messy jars taste just as amazing.
 Save
Save These cheesecake jars are always a crowd-pleaser, whether for casual snacks or celebratory occasions. I hope they add a sweet, joyful note to your kitchen memories too.
Recipe Questions & Answers
- → Can I use other berries instead of strawberries?
Yes, raspberries or blueberries work well for the compote and offer a different flavor profile.
- → How long in advance can the jars be prepared?
These jars can be assembled up to 24 hours ahead, allowing the flavors to meld beautifully.
- → Can I make it gluten-free?
Simply use certified gluten-free biscuits for the base to accommodate dietary needs.
- → What tools are needed for this dessert?
You will need mixing bowls, a mixer, a saucepan, and 6 small glass jars for easy serving.
- → What allergens should I be aware of?
This treat contains milk and gluten (unless using gluten-free biscuits). Check all product labels for allergens.