 Save
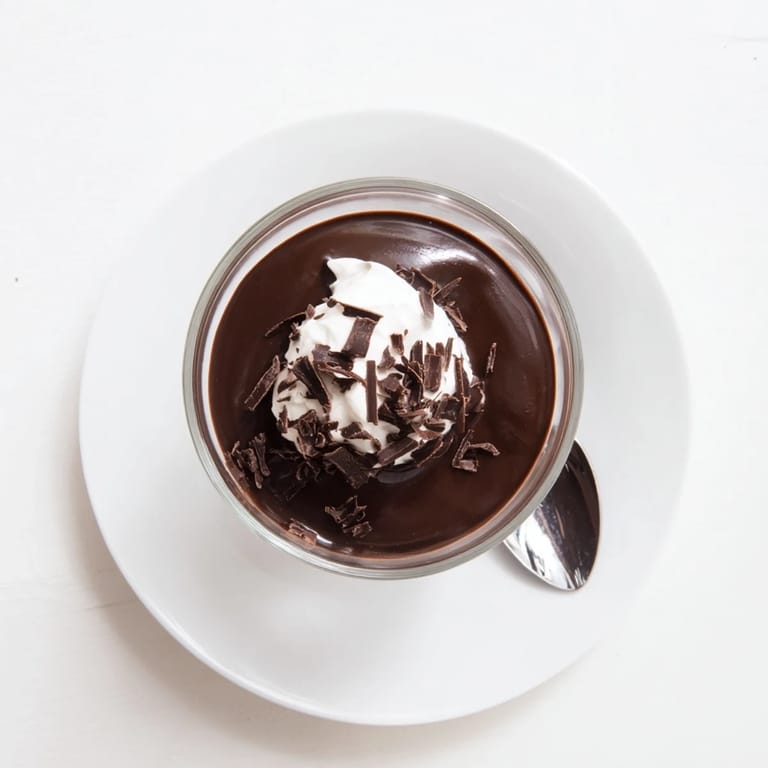
Save My grandmother kept a special collection of crystal glasses in the back of her cupboard, reserved only for chocolate pudding nights. There was something magical about watching her transform milk and chocolate into this silky, glossy dessert right before our eyes. The ritual of whisking constantly until the mixture thickened felt like a lesson in patience and love. Those glasses would emerge from the refrigerator hours later, holding something that tasted like pure comfort.
Last winter, when my best friend was going through a rough breakup, I showed up at her door with four small ramekins of this pudding. We sat on her couch, eating in comfortable silence, and I watched her shoulders slowly relax with every bite. Sometimes food really is the most direct way to say I care about you without having to find the right words.
Ingredients
- Whole milk: The foundation that creates that luxurious, velvety mouthfeel we all crave
- Heavy cream: Adds just enough richness to make each spoonful feel indulgent without being overwhelming
- Unsalted butter: The secret ingredient that gives the pudding its gorgeous glossy finish
- Granulated sugar: Just enough to balance the dark chocolate without making it cloyingly sweet
- Unsweetened cocoa powder: Builds that deep chocolate foundation from the ground up
- Cornstarch: The magic thickener that transforms liquid into silky pudding
- Salt: A pinch that wakes up all the chocolate flavors and keeps them from falling flat
- Dark chocolate: Use the best quality you can find since its the star of the show
- Pure vanilla extract: The finishing touch that rounds everything into perfect harmony
Tired of Takeout? 🥡
Get 10 meals you can make faster than delivery arrives. Seriously.
One email. No spam. Unsubscribe anytime.
Instructions
- Whisk your dry foundation:
- Combine the sugar, cocoa powder, cornstarch, and salt in your saucepan, taking time to break up any cocoa lumps now before they become problems later
- Build the base:
- Slowly pour in the milk and cream while whisking continuously, creating a smooth, homogeneous mixture without any dry pockets hiding at the edges
- The transformation begins:
- Set the pan over medium heat and whisk without stopping, watching as the mixture slowly thickens and begins to bubble, about five to seven minutes of steady attention
- Moment of magic:
- Remove from heat immediately and add your chopped chocolate and butter, whisking until both disappear into the warm pudding, leaving you with something impossibly smooth and glossy
- Finish with grace:
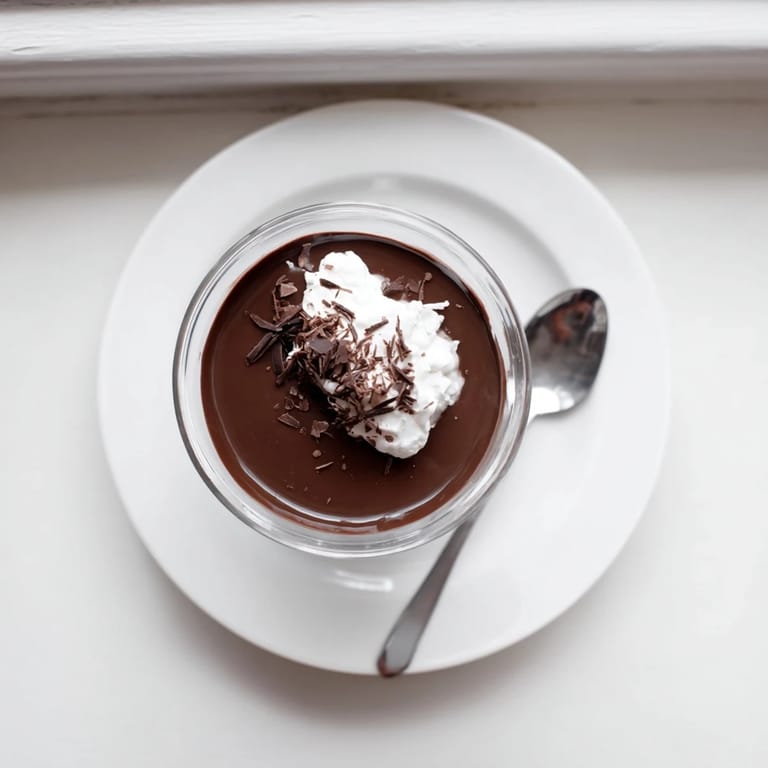
- Stir in the vanilla extract, then pour into your serving glasses and press plastic wrap directly onto the surface to prevent that dreaded skin from forming
- The hardest part:
- Refrigerate for at least two hours, letting the pudding set into that perfect, spoonable consistency that makes all the waiting worth it
 Save
Save My daughter requested this for her eighth birthday instead of cake, and seeing her face light up when she took that first spoonful reminded me why simple desserts often mean the most. Sometimes the most elegant things in life are also the most straightforward.
Making It Your Own
I have found that adding a pinch of espresso powder with the dry ingredients creates this sophisticated depth that makes people wonder what your secret ingredient is. A splash of your favorite liqueur works beautifully too, though I keep mine virgin for the kids. The recipe is wonderfully forgiving and invites experimentation.
Serving Suggestions
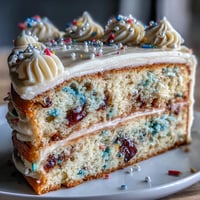
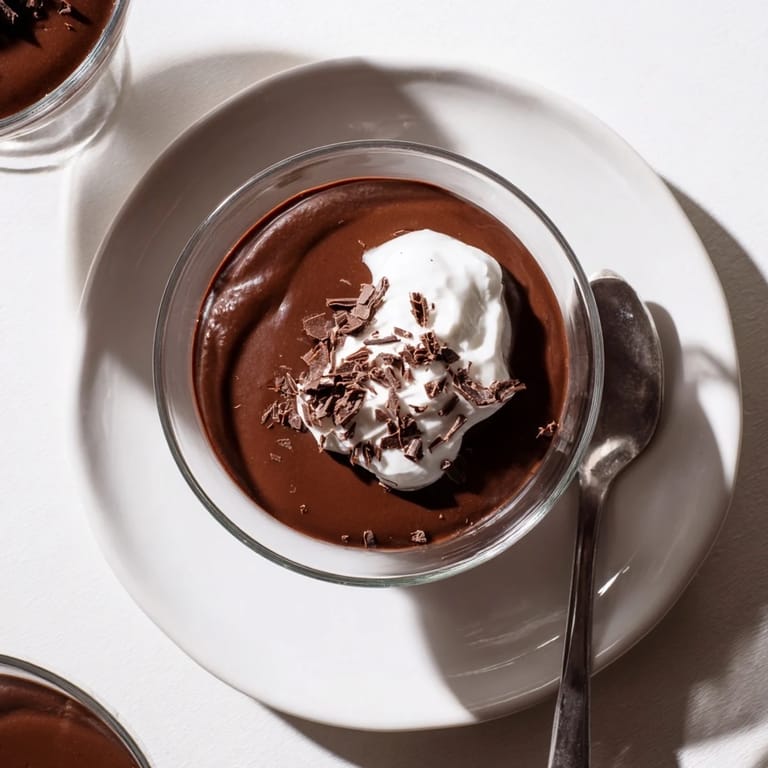
While this pudding is absolutely perfect on its own, a dollop of freshly whipped cream never hurt anyone. Chocolate shavings, fresh raspberries, or even a sprinkle of sea salt on top can transform it into something dinner party worthy. I have served it alongside shortbread cookies and watched guests suddenly find room for seconds.
Make Ahead Magic
This might be the ultimate do ahead dessert since it actually improves after a night in the refrigerator, allowing all those chocolate flavors to deepen and meld together. I often make it the day before a dinner party and simply pull it out when I am ready to serve dessert stress free.
- Keep the plastic wrap on until right before serving to maintain that pristine surface
- Let it sit at room temperature for five minutes before serving for the ideal texture
- Garnish at the very last moment so toppings do not weep or soften
 Save
Save There is something profoundly satisfying about making something so delicious from such humble ingredients. This pudding has become my go to comfort food, and I hope it finds its way into your regular rotation too.
Recipe Questions & Answers
- → How long does chocolate pudding need to chill?
Refrigerate for at least 2 hours until completely set. For best results, chill 3-4 hours. The pudding will keep well covered in the refrigerator for up to 3 days, though the texture is best within the first 24 hours.
- → Can I make this dairy-free?
Yes, substitute whole milk and heavy cream with your favorite plant-based alternatives like oat milk, coconut cream, or almond milk. Use dairy-free dark chocolate and butter options. The texture may vary slightly but remains delicious.
- → Why put plastic wrap directly on the surface?
Placing plastic wrap directly on the warm pudding surface prevents a skin from forming as it cools. Press the wrap gently against the surface to eliminate air pockets. This ensures a perfectly smooth, velvety top when you scoop or invert.
- → What percentage of dark chocolate works best?
Dark chocolate between 60–70% cocoa creates the ideal balance of richness and sweetness. Higher percentages yield a more intense chocolate flavor with less sweetness, while lower percentages result in a milder taste. Avoid chocolate above 85% as it may taste too bitter.
- → How do I prevent lumps in my pudding?
Whisk dry ingredients thoroughly before adding liquid. Gradually incorporate milk and cream while whisking to dissolve any cornstarch clumps. Most importantly, whisk continuously during cooking to prevent scorching and ensure even thickening.
- → Can I freeze chocolate pudding?
Freezing is not recommended as the texture changes significantly. The dairy and cornstarch can separate when thawed, creating a grainy consistency. For best results, prepare fresh or store refrigerated for up to 3 days.